Camping & Survival
How To Build A Debris Hut
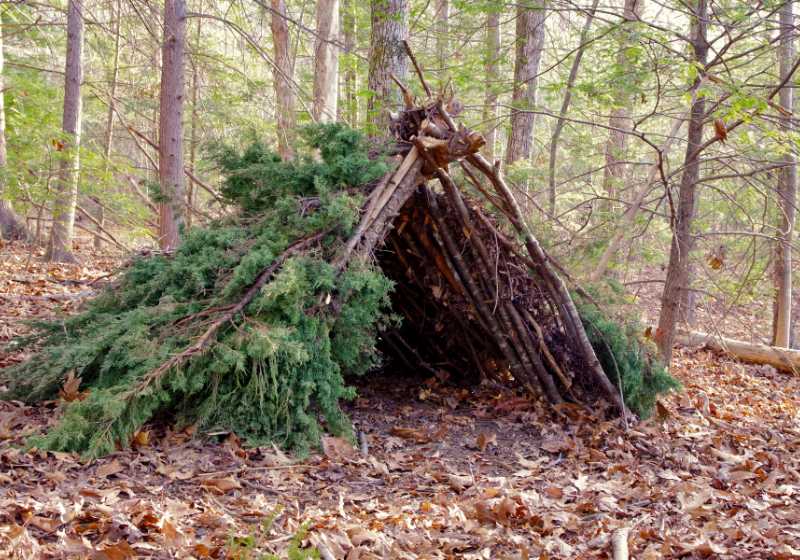
A debris hut is a great temporary survival shelter for keeping our bodies warm during a chilly night in the woods. Learn how to build one in this tutorial!
RELATED: 21 Essential Tips For Survival In The Wilderness Or Outdoors
Debris Hut | Your Ultimate Guide In Building A Survival Shelter
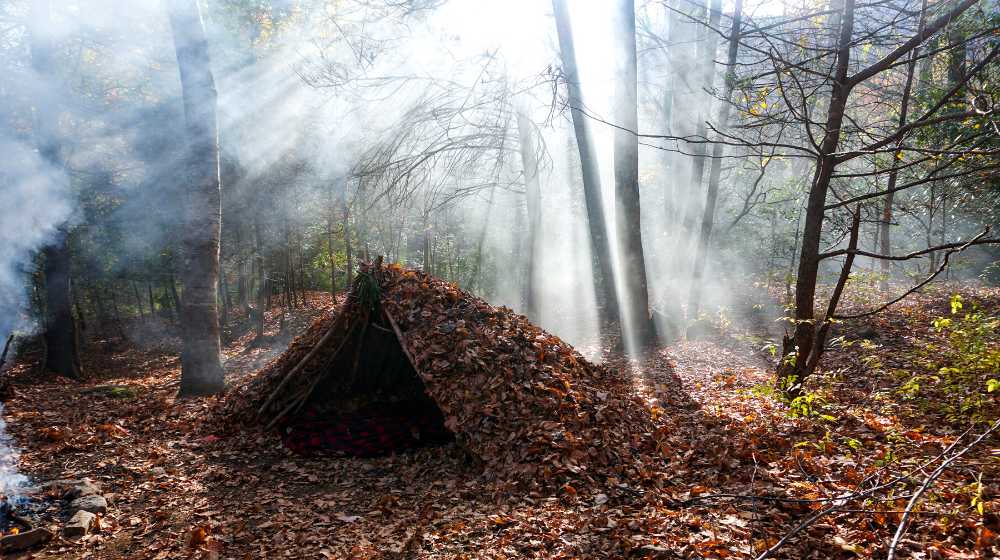
A Debris Hut
A debris hut is a type of survival shelter that can take anywhere from an hour and a half to half a day to build completely depending on how much material available to you and how familiar you are in this process.
Though a debris hut is just one option and isn’t really a hundred percent necessary in all situations, it’s actually easy and simple to build.
It might also not the best option for you depending on your timeframe and what materials you have available. However, It is still an advantage, if you know how to build a debris hut.
Here’s a step-by-step tutorial in building a debris hut in times of survival!
What You’ll Need:
- Folding saw (optional but makes the work way easier)
- Ridge pole (should be about the length of your body with your arms raised in the air, plus another 1 foot)
- 2 sturdy Y-sticks (not longer than your waistline)
- A couple of sticks/branches for the ribs (longer than the Y-sticks)
- A huge pile of leaves (dried/semi-dried)
- Lattice branches
- A paracord
Step 1: Set Up the Ridge Pole
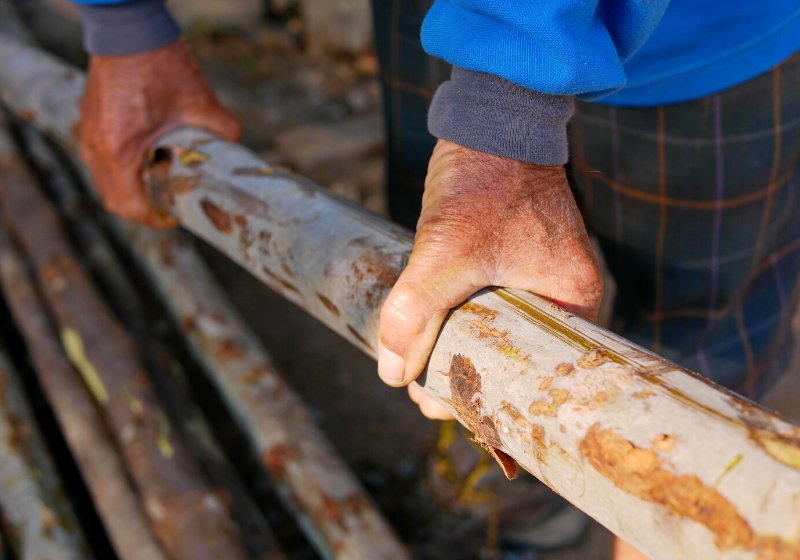
Get your ridge pole and prop it up at the bottom to give yourself a little bit of a foot room. Remember that you’re going to lie on your back with your feet sticking up in the air.

It’s not a hundred percent necessary, but if you’re not going to prop it up on something you’ll need a longer ridge pole.
Step 2: Support the Ridge Pole With the Y-sticks

You don’t want the Y-sticks to be so big so you’ll have just enough space to heat the temperature inside your debris hut. The goal is to keep that to a minimum. It should be not quite up to your waist.
Using a paracord, latch-up the Y-sticks into the end of the ridge pole. It’s not necessary since the Y-stick can hold the ridge pole together, but securing it with a paracord will ensure you that it’s sturdy and won’t get knocked down easily.
Step 3: Measure the Area of Your Debris Hut
Now, it’s time to measure the area of your debris hut to make sure you’ll have enough space. Lay down in your shelter and mark your body from head to foot.
Move your feet and create a mark then move your hands on both sides and create marks as well. Next is to mark up above your head using your hands down to your shoulders.
Stand up and get a stick to trace the marks for a clearer basis of the measurements.
RELATED: Survival Cooking – Eat Deliciously Cooked Meat With Primitive Tools

Step 4: Add Leaves to the Ground
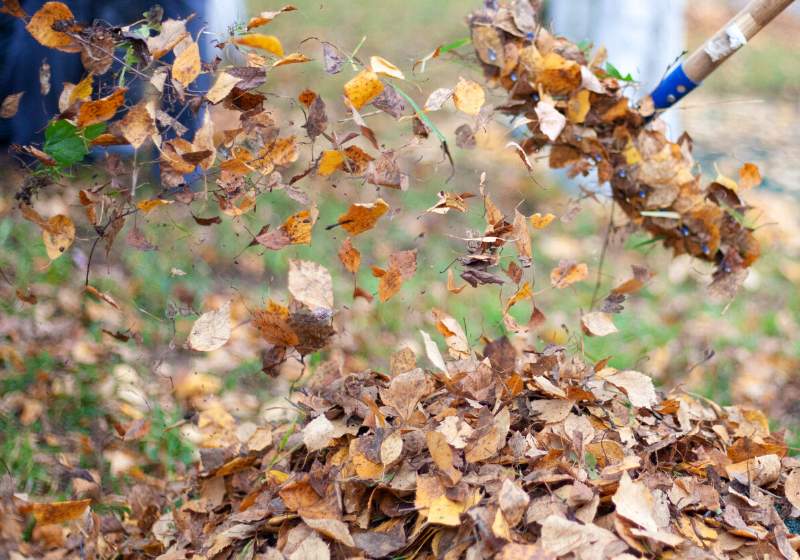
The easiest way to address separation from the ground is to put layers of leaves. Generally, you want the debris underneath you to separate you from the ground by at least 4 inches.
Use your hand to measure. The debris inside the shelter should be 4-fingers deep as it compresses. That should be enough for you.
Grab a big pile of dried leaves and cover the ground all the way through the measurement you just made earlier. Spread it evenly then take any large sticks out.
You don’t want large sticks poking you as it can get really uncomfortable in the middle of the night.
Step 5: Address the Dead Space
The best way to address the dead space at the bottom is to stuff it with leaves. Make sure to add more until no more dead space so your debris hut can easily create a warmer temperature.
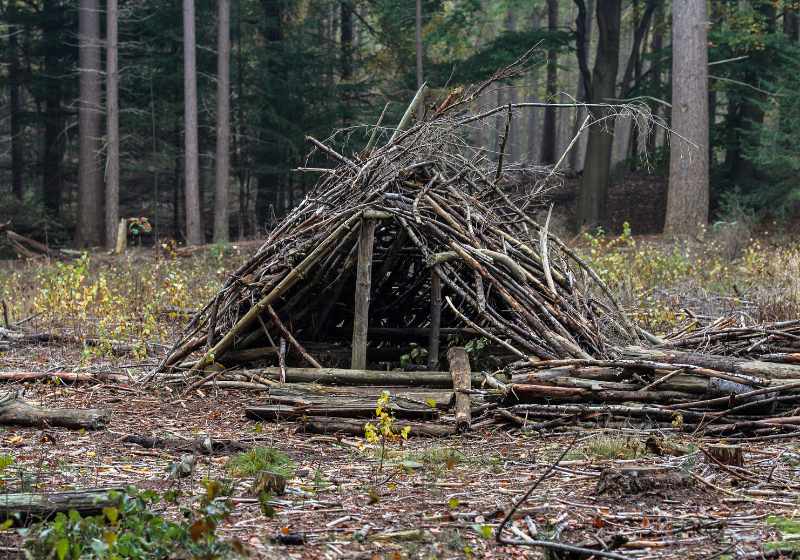
Step 6: Add the Ribs

These ribs are basically the sticks or branches added at the sides to form an A-frame-like shelter. The way that these ribs work insulates you with the leaves.
It will also shed water because as the water hits the shelter with a big pile of leaves on top, gravity will start pulling it down, but it will also start shedding off to the side, and by the time the water penetrates all the way through, it will flow outside and not in your shelter.
TIME SENSITIVE INFORMATION: EX-CIA Agent Takes You Through The Intensive Sharp Shooter Training He Learned In The CIA Academy. In Just 30 Days Learn To Be A Sharp Shooter Like Every Agent Leaving The Academy.
You don’t want the ribs to stick up too high off the top of your shelter because if your ribs are sticking way up high and you have these leaves piled up, as the water starts to penetrate and hits one of the ribs then it will just automatically travel down and drip into your shelter.
Arrange the ribs and work your way down to the bottom of the ridge pole, then do the same on the other side. Interlock the ribs adding each branch after another that is on the other side.
Step 7: Add a Layer of Lattice
Lattice is essentially branches that are fuzzy with a lot of little twigs on them. The idea behind that is to catch the leaves so they don’t shed off the sides easily even if the wind comes.
Lay the lattice branches on the ribs. Cover both sides before adding the leaves.
Step 8: Add the Leaves
Start adding the leaves at the bottom of the debris hut. If you start at the bottom when adding the leaves, they will stay on each other and they won’t fall as much.
So, start working at the bottom and work your way down then up to the top of the ridge pole. Add more layers of leaves.
A good rule is that when you reach in through the leaves and you touch the ribs, the leaves should be up to your armpit. This is helpful when you’re in a really cold environment.
Step 9: Add a Door
Place a square door in front of the entryway of your debris hut to trap the body heat. You can use your bug-out bag or add a layer of leaves.
Watch this video by Coalcracker Bushcraft for a larger version of a debris hut:
Now that you know how to build a debris hut, you won’t worry about getting stuck in the woods during the colder months. We hope you find this tutorial helpful. Keep this in your back pocket and bring it whenever you go!
Have you tried building a debris hut before? Share your experience with us in the comments section below!
Up Next:
- How To Boil Water For Survival
- Water Purification Methods To Keep You Hydrated During Survival Situations
- Ironman Triathlon Podcast: What You Need To Know As An Aspiring Ironman
Don’t forget to stay connected with us on Facebook, Twitter, Pinterest, and Instagram!

How To Build A Debris Hut

Ironman Triathlon Podcast: What You Need To Know As An Aspiring Ironman

Awesome Family Camping Tips For Beginners

Hiking Safety Tips: What To Do When You Have Knee Pain On Trail? [PODCAST]

How To Craft Sharp Stone Tools To Survive The Great Outdoors

Mountain Bikers, Why You Don’t Want to Ride Like a Pro!

Hiking Boot Accessories
The Handgun Safety Test For Beginners
These Hunting Shotguns Are The Best Bang For Your Buck
11 Types of Guns That Will Keep You Alive On Doomsday
Best ATV Tires – The Top 6 Lightest Mud Tires
Arizona Hunting Laws and Regulations

The Top 5 Hunting Guns You’ll Ever Need For A Wilderness Walk-out
Custom Hunting Rifles Part 1 – Magpul Hunter 700 Remington SPS AAC Precision Rifle
The Handgun Safety Test For Beginners
These Hunting Shotguns Are The Best Bang For Your Buck
11 Types of Guns That Will Keep You Alive On Doomsday
Best ATV Tires – The Top 6 Lightest Mud Tires
Arizona Hunting Laws and Regulations
The Top 5 Hunting Guns You’ll Ever Need For A Wilderness Walk-out
Custom Hunting Rifles Part 1 – Magpul Hunter 700 Remington SPS AAC Precision Rifle

